Click here for information on safe transport and handling of samples
Click here for information about disposal of chemical waste
Preparation of Biological Specimens
The X-ray Fluorescence Microprobe is an excellent tool for mapping trace metal distributions in biological systems at sub-micron length scales . In particular, sensitivity is extremely high to first-row transition metals, i.e., K - Se, but also reaches down to Si. Heavier metals can be imaged using L-shell [Cd-Pu] and M-shell [Os+] fluorescence. It is therefore extremely important that the distribution of these metals not be disturbed during specimen preparation.
Most approaches to specimen preparation for metals mapping in animal tissues rely on metals immobilisation. This can occur through chemical fixation or cryo-fixation followed by dehydration or freeze substitution.
A recent investigation [1] has indicated that formaldehyde fixing can result in metals redistribution in certain types of tissue sections, and that a short rinse in PBS can also disturb metals distribution. In that article, cryofixation and drying is used as the reference standard for preserving metals distributions.
Unfortunately it is not always possible to plunge freeze a specimen, especially when the specimen is so large that cooling rates are not sufficient to prevent ice-crystal formation [2]. However, where plunge freezing and freeze-drying (or freeze substitution) is an option, we at least recommend that a comparison of the two techniques be performed as a part of the beamtime request.
We highly recommend the use of silicon nitride windows for mounting specimens. Adherent cells can be grown directly onto silicon nitiride windows, and these are compatible with a variety of imaging and spectroscopic investigations [3]. We have a limited supply of these windows at the beamline; so please feel free to ask for some if you require less than 10 or so windows for your investigation. However, if you need more than this or plan repeated trips you should consider these to be a part of your cost for the beamline access. Such windows can be obtained from one of a number of companies including Silson. Please feel free to consult us prior to making your purchase.
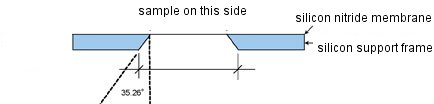
Place specimens on the membrane-side aperture of a silicon nitride window, not in the 'well'. A cross-section view of a silicon nitride window is shown below to demonstrate.
We DO NOT recommend the use of plastic coverslips for mounting biological samples. Coverslips contain many metal impurities such as cobalt. Coverslips are also too thick and create excess scatter.
[1] Hackett et al., Analyst 136, 2941 (2011).
[2] Studer et al., Journal of Microscopy 203, 285 (2001).
[3] Carter et al., Molecular Biosystems 6, 1316 (2010).
Preparation of Geological/Other Specimens
While we often scan thin sections mounted on glass slides, be aware that glass slides often contain trace metals which may contribute an unwanted background signal to your data. We have found glass slides often contain elements such as Fe, As, Rb, Sr, Zr, and Pb (some slides have been found to contain all these elements while some have a subset). Glass slides should only be used if no alternatives are available.
Sample Mounting at XFM
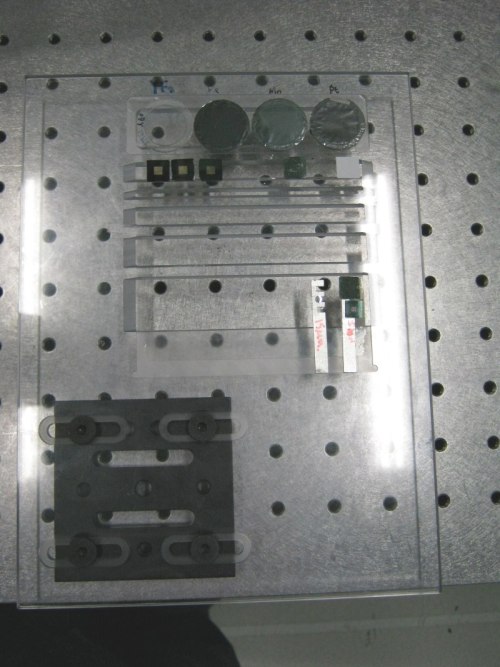
We have a variety of sample mounts available for use at XFM. Perspex mounts having various aperture shapes and sizes are typically used with the Maia detector. Double-sided adhesive tape is the usual way we attach specimens to the perspex mounts.
|
|
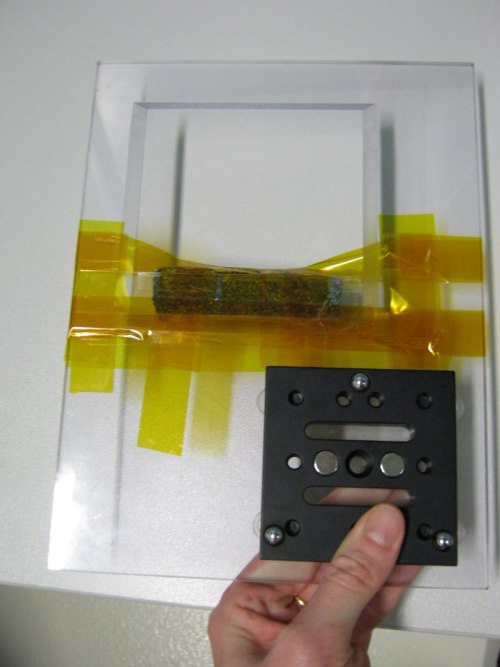
| Shown above is a set of foil standards in a perspex mount. Foils are scanned during an experiment to help provide quantitiive analysis. On the lower left is a magnetic kinematic mount we attach to the scanning XY stages. Positioning with the kinematic mounts is typically reproducible to 10 microns. |
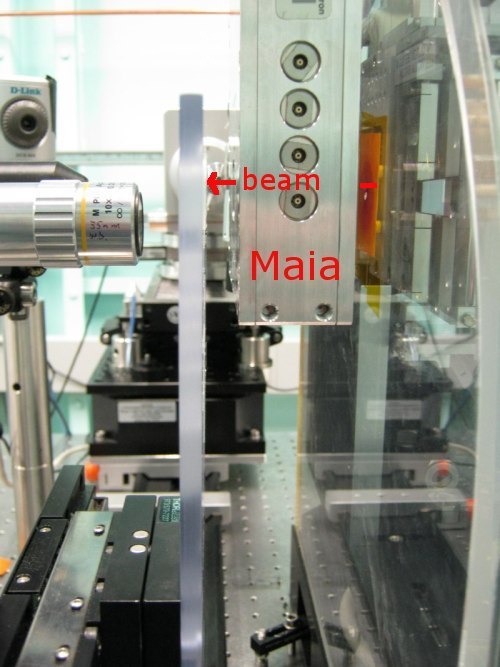 |
| Side view of the foils mounted in front of the Maia detector in the 'sample out' position (about 10 mm from the face of the Maia). The beam approaches from the right through an aperture in the detector onto the sample (see more photos below). |
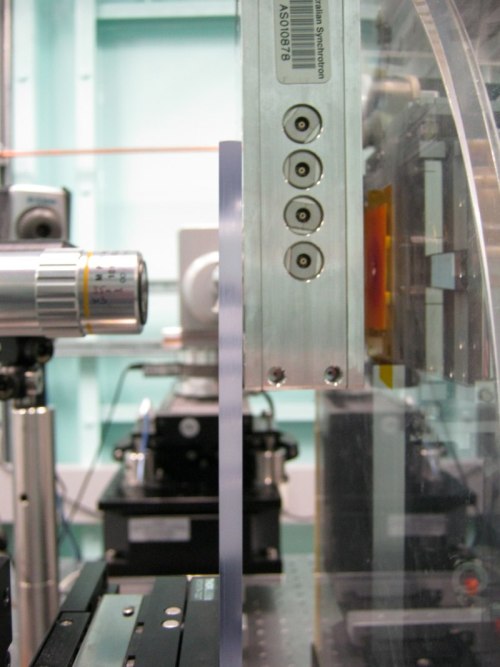 |
| 'Sample in' scanning position with foils approx 1mm away from face of Maia. As clearly seen here, we scan samples very close to the detector. |
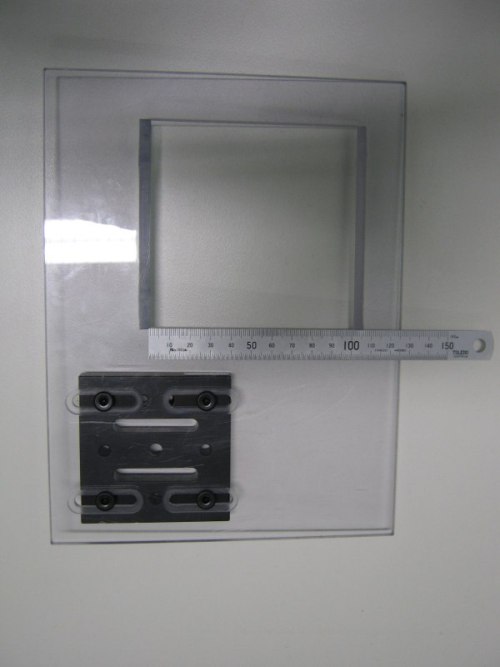 |
| Single aperture mount with 100mmx100mm aperture area. |
 |
| Atypical sample (chunk of rock) attached with polyimide (Kapton) tape. |
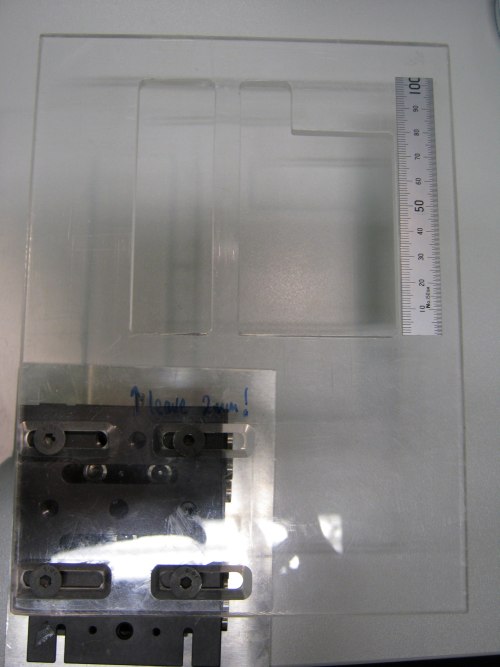 |
| Another style perspex mount with two apertures. |
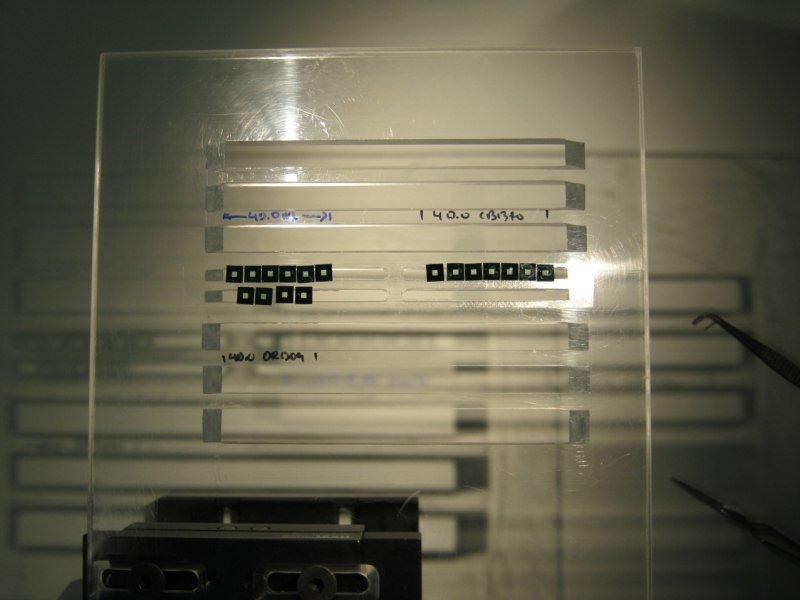 |
| Slotted perspex mount with silicon nitride windows attached. |
 |
| Tomography setup on rotation stage. |
 |
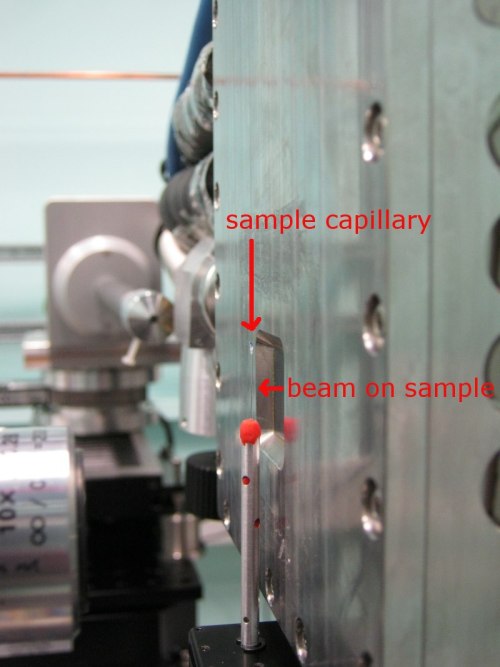
| A mount that can be used for the Vortex detector. The Vortex detector is 90 degrees to the incident beam and the sample stalk is 45 degrees to the beam. A column of silicon nitride windows, and some powdered standards enclosed in Kapton tape, are attached to the stalk with double-sided adhesive tape. |
 |
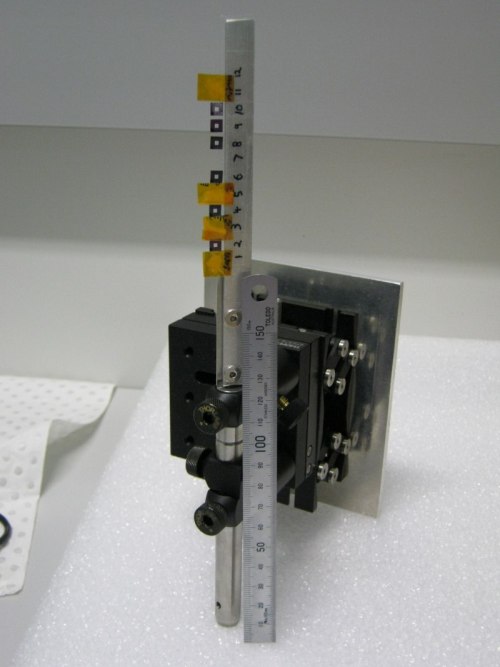
| Sample mount for the nanoprobe. Samples are attached to an aluminium stalk, which in turn is inserted into a kinematic mount. Shown here is a stalk with a scintillator attached (yellow disk) with two silicon nitride windows attached below it. The aluminium stalk is approx 6 mm wide. |